So, you’ve got these beams. Maybe they’re historic, maybe they’re structural, or maybe they just look really cool and you don’t want to mess with them. The problem? They’re right where you want to put some lighting, but drilling into them is a no-go. This is a surprisingly common scenario, and thankfully, there are some clever lighting solutions that let you illuminate your space beautifully without touching those precious beams. The core idea is to find lighting that minimizes its physical footprint on or around the beam, or avoids direct contact altogether.
Before we dive into specific solutions, it’s worth taking a moment to fully grasp why these beams present a unique lighting Imoddesigns puzzle. It’s not just about aesthetics, though that’s a big part of it.
Why Can’t We Touch the Beams?
There are several common reasons why a beam might be off-limits for drilling, cutting, or even attaching heavy fixtures:
- Structural Integrity: This is the most critical reason. Many beams are load-bearing, meaning they’re crucial to the stability of the building. Any modification could compromise this, leading to serious safety hazards and expensive repairs. Building codes often have strict rules about what can and cannot be done to structural elements.
- Historical Preservation: In older homes, heritage buildings, or listed properties, beams might be original features. Modifying them could devalue the property, violate preservation guidelines, or even be illegal. The goal here is to maintain historical authenticity.
- Aesthetic Preservation: Sometimes, the beams are just too beautiful to alter. Exposed wood beams, especially hand-hewn or intricately carved ones, are often a focal point. Drilling holes or running visible wires can detract significantly from their natural beauty.
- Rental Property Restrictions: If you’re renting, your landlord might have a strict “no modifications” policy, especially for structural elements like beams.
- Accessibility: In some cases, the beam might be in an awkward spot, making it difficult or dangerous to work on with tools.
What Does “Low Profile” Really Mean Here?
For unmodifiable beams, “low profile” goes beyond just a slim fixture. It often means:
- Minimal Attachment: Can it attach with clamps, magnets, or adhesives instead of screws?
- Indirect Mounting: Can it be mounted to an adjacent surface (wall, ceiling) and shine onto the beam or the area around it?
- Self-Supporting: Does it have its own stand or base that negates the need for beam attachment?
- Wire Management: How can wires be run discreetly without needing to chase them through the beam itself?
Strategic Placement: Lighting from Adjacent Surfaces
One of the most effective ways to light an area around an unmodifiable beam is to simply avoid mounting anything directly on the beam. Instead, think about lighting it from somewhere else.
Wall-Mounted Uplights and Downlights
If there’s a wall close to the beam, this is a prime opportunity.
- Wall Washers: These fixtures are designed to “wash” a wall with light. If positioned correctly, they can illuminate the area around the beam, or even cast a soft glow onto the beam itself, highlighting its texture without touching it. Look for linear LED wall washers for a sleek, unobtrusive look.
- Picture Lights/Accent Lights: While often used for artwork, a small, adjustable picture light mounted on a wall can be aimed upwards to highlight the underside of a beam, or downwards to illuminate the space beneath it.
- Sconces with Adjustable Heads: Many modern wall sconces feature heads that can be pivoted. You can direct the light beam precisely where you need it, whether that’s bouncing light off the ceiling or washing over the beam’s surface.
Ceiling-Mounted Track Lighting or Pendants
If the ceiling adjacent to or above the beam is modifiable, you have more options.
- Track Lighting: A track installed on the ceiling can hold multiple small spotlights. These spotlights can be individually aimed to highlight different sections of the beam or the areas around it. The beauty of track lighting is its flexibility and ability to direct light precisely.
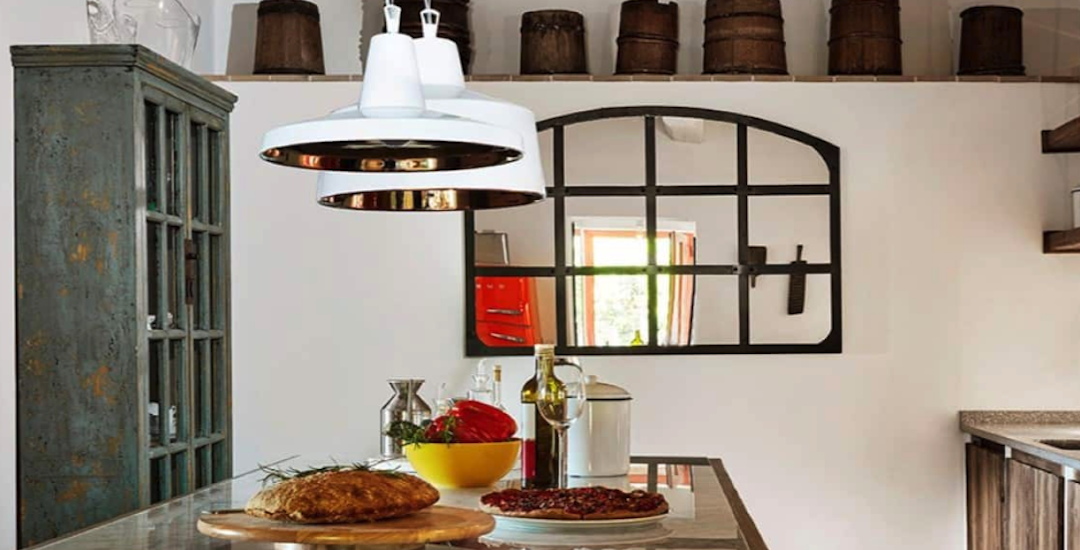
- Pendant Lights: If the goal is to illuminate the space under the beam (e.g., a dining table, an island), pendants can be hung from the ceiling. The key here is to choose pendants that drop low enough to clear the beam, or to position them carefully so they don’t visually interfere with the beam’s presence.
- Recessed Lighting (if applicable): If the ceiling above the beam is modifiable and allows for recessed fixtures, these can be angled to cast light onto the beam or the area it defines. This offers a very clean, integrated look.
Minimal Contact Solutions: Adhesives, Magnets, and Clamps
When you absolutely need light closer to the beam, but drilling is out, technology offers some ingenious solutions that rely on non-invasive attachment methods.
Adhesive-Backed LED Strip Lights
This is probably one of the most versatile and low-impact options.
- Under-Beam Accent Lighting: LED strips are incredibly thin and flexible. Many come with strong adhesive backing. They can be discreetly applied to the underside of a beam, providing a continuous line of light that grazes the surface or illuminates the area directly below. Choose strips with a high CRI (Color Rendering Index) for accurate color representation and various color temperatures (warm to cool white) to match your aesthetic.
- Cove Lighting Effect (Above Beam): If there’s a small ledge or recess on top of the beam, an LED strip can be placed there to create an uplighting effect, bouncing light off the ceiling. This creates a soft, ambient glow and highlights the beam’s silhouette.
- Wire Management for Strips: The biggest challenge with LED strips is often managing the power supply and connecting wires. Look for battery-powered options for truly wireless, temporary solutions, or plan careful routes for thin wires along adjacent walls or tucked into corners.
Magnetic Lighting Systems
Magnetic systems are gaining popularity for their flexibility and ease of installation.
- Magnetic Tracks: These systems use low-voltage tracks that can be surface-mounted on ceilings or walls near the beam. Then, various light modules (spotlights, linear lights, pendants) simply snap into place magnetically. While the track itself needs to be installed, it doesn’t have to be on the beam itself, and the individual lights are easily repositionable. This offers immense flexibility.
- Small Magnetic Puck Lights: For very specific, small accents, battery-powered magnetic puck lights can be useful. If the beam has any ferrous metal components, or if you can discreetly attach a small metal plate to an adjacent surface, these can provide targeted light.
Clamp-On Fixtures (with Caution)
This option requires careful consideration and selection.
- Clip Lights/Task Lights: Some small, lightweight LED fixtures come with spring clamps. If the beam has a suitable edge or lip, and if the fixture is truly lightweight and exerts minimal pressure, this might be an option for very temporary or highly specific task lighting.
- Considerations: Before using any clamp-on fixture, assess the beam’s material (will the clamp damage it?), the weight of the fixture (can the clamp hold it securely without slipping?), and the pressure exerted by the clamp (will it indent or mar the surface?). This is generally best avoided for historical or very delicate beams. Always prioritize protection, perhaps by adding a soft buffer between the clamp and the beam.
Free-Standing & Furniture-Integrated Lighting
Sometimes the best way to light around a beam is to not touch it at all, and instead bring the light source up from below.
Floor Lamps and Uplighters
Floor lamps are your unsung heroes in situations like this.
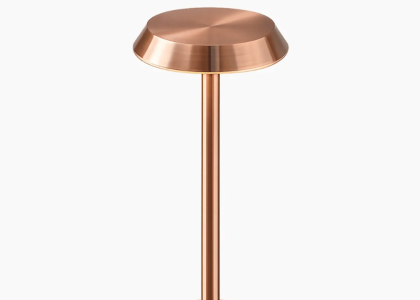
- Tall Arc Lamps: An arc lamp can reach over furniture and provide ambient or task lighting without needing any ceiling or wall attachment. They’re excellent for defining seating areas under beams.
- Uplighters/Torchiere Lamps: These lamps direct light upwards, bouncing it off the ceiling to create a soft, ambient glow. If placed strategically, they can illuminate the ceiling area around the beam, making the space feel brighter without directly highlighting the beam itself if that’s not desired.
- Adjustable Floor Lamps: Many modern floor lamps have adjustable heads or arms, allowing you to direct light precisely – perhaps onto a feature on a wall, or to subtly graze the side of a beam.
Table Lamps and Desk Lamps
For more localized illumination, integrate lighting into your furniture.
- Task Lighting on Surfaces: If the beam is above a desk, side table, or console, a well-chosen table lamp can provide ample light for the surface and indirectly contribute to the overall room illumination.
- Layered Lighting: Combining table lamps with other light sources (like floor lamps or indirect wall lighting) creates a richer, more versatile lighting scheme that diminishes the reliance on ceiling or beam-mounted fixtures.
Furniture with Integrated Lighting
Designers are increasingly incorporating lighting directly into furniture.
- Shelving Units with Built-in LEDs: A bookcase or display unit with integrated LED strips can illuminate its contents and also provide ambient light that indirectly affects the area around a beam.
- Media Consoles: Many modern media units come with subtle backlighting or integrated accent lights that can add to the room’s ambiance.
Creative Wire Management and Power Solutions
The biggest hurdle for any non-invasive lighting solution is often how to power it and hide the wires without drilling.
Battery-Powered Lights
For small, accent lights or temporary setups, battery power is a game-changer.
- Pros: Absolutely no wires to run, incredibly flexible placement, often remote-controlled or motion-activated.
- Cons: Requires battery changes/recharging, generally less powerful, not suitable for primary room illumination.
- Best Use Cases: Accent lighting for specific beam features, mood lighting, temporary lighting, areas where running wires is genuinely impossible.
Flat Wire and Paintable Wire Covers
When wires are unavoidable, make them disappear.
- Flat Wire/Adhesive Wiring: Some innovative wiring solutions are designed to be extremely thin and can even be painted over to match the wall or ceiling. This is far less obtrusive than traditional round cables.
- Paintable Wire Channels: Small, adhesive-backed plastic channels can be stuck to walls or ceilings, wires run inside, and then the channels painted to blend in. Choose channels that are as small and discreet as possible.
- Cable Clips and Staples: Used sparingly and strategically, small cable clips or staples can secure wires along edges or in discreet locations, though they do involve minor surface penetration.
Strategic Outlet Placement and Extension Cords (Smartly Hidden)
Sometimes, the simplest solution is just good old power, but managed well.
- Floor Outlets: If you’re undertaking a renovation that involves the floor, consider adding floor outlets. This can be a godsend for powering floor lamps and other freestanding fixtures without visible cords trailing across the room.
- Furniture as Hiding Spots: Use the backs of sofas, console tables, or bookshelves to hide extension cords and power strips.
- Rug Placement: Running a flat extension cord under a rug (ensure it’s a flat, heavy-duty cord to avoid trip hazards and damage) can be a temporary solution for getting power to a floor lamp.
Material Considerations and Light Quality
Beyond just how you mount it, the type of light you choose and its interaction with the beam’s material are crucial for a successful outcome.
Respecting the Beam’s Material
Different beam materials will interact with light differently.
- Wood Beams: Wood has a natural warmth. Warm white LEDs (2700K-3000K) will enhance this. Consider the texture – uplighting or grazing light can highlight rough-hewn surfaces beautifully. Avoid overly bright, cold lights that can wash out the wood’s character.
- Steel Beams: Modern or industrial spaces often feature steel beams. Cooler white light (3500K-4000K) can complement a minimalist aesthetic. Polished steel will reflect light differently than matte steel.
- Concrete Beams: Concrete can range from smooth to very coarse. Direct, focused light can bring out the raw texture. Again, consider if you want to emphasize the industrial feel with cooler tones or soften it with warmer light.
Choosing the Right Light Temperature and Brightness
The “feel” of your lighting is heavily influenced by these factors.
- Color Temperature (Kelvin):
- Warm White (2700K-3000K): Cozy, inviting, good for living spaces and bedrooms, enhances natural wood tones.
- Neutral White (3500K-4000K): Brighter, more functional, good for kitchens, offices, or modern spaces.
- Cool White (5000K+): Mimics daylight, energizing, less common for residential ambient lighting.
- Brightness (Lumens): Don’t just blast light everywhere. Start with lower lumens and build up. Too much light can flatten a space or create uncomfortable glare. Dimmable fixtures are a huge asset, allowing you to adjust the ambiance.
- Beam Angle: For spotlights, a narrow beam angle will create a more dramatic, focused effect, while a wider beam will provide a softer wash. Consider what you want to highlight.
By carefully planning your approach, you can achieve stunning lighting effects that respect the integrity and beauty of your unmodifiable beams, enhancing your space rather than compromising it. It’s all about thinking creatively and leveraging the wealth of low-profile, non-invasive lighting solutions available today.